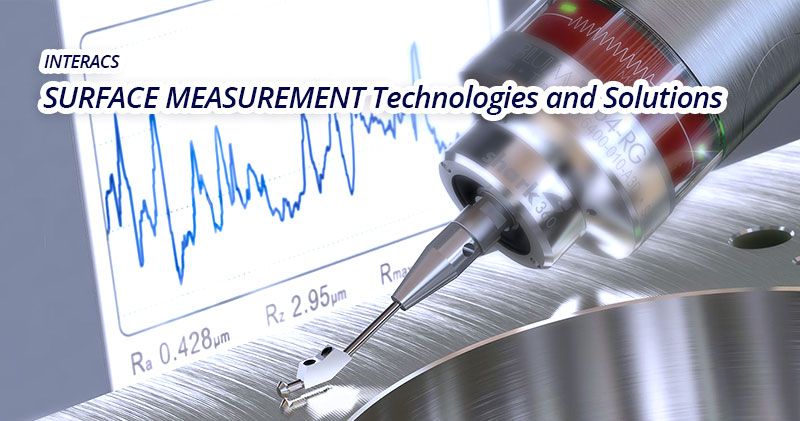
Interacts offers you the service in the two types of measuring devices:
Contact (tactile measurement)
Stylus-based contact instruments have the following advantages:
- The system is very simple and sufficient for basic roughness, waviness or form measurement requiring only 2D profiles (e.g. calculation of the Ra value).
- The system is never lured by the optical properties of a sample (e.g highly reflective, transparent, micro-structured).
- The stylus ignores the oil film covering many metal components during their industrial process.
Technologies:
Contact Profilometers – traditionally use a diamond stylus and work like a phonograph
Atomic force microscope are sometimes also considered contact profilers operating at atomic scale.
Non-Contact (optical microscopes)
Optical measurement instruments have some advantages over the tactile ones as follows:
- No touching of the surface (the sample cannot be damaged)
- The measurement speed is usually much higher (up to a million 3D points can be measured in a second)
- Some of them are genuinely built for 3D surface topography rather than single traces of data
- They can measure surfaces through transparent medium such as glass or plastic film
Non-contact measurement may sometimes be the only solution when the component to measure is very soft (e.g. pollution deposit) or very hard (e.g. abrasive paper).
Vertical scanning:
- Interferometry
- Confocal microscopy
- Focus variation
- Confocal chromatic aberration
Horizonal scanning:
- Scanning laser microscope (SLM)
- Structured light scanning
Choice of the right measurement instrument.
Because of every instrument has advantages and disadvantages the operator must choose the right instrument depending on the measurement application. In the following some advantages and disadvantages to the main technologies are listed:
Interferometry: This method has the highest vertical resolution of any optical technique and lateral resolution equivalent to most other optical techniques except for confocal which has better lateral resolution. Instruments can measure very smooth surfaces using phase shifting interferometry (PSI) with high vertical repeatability; such systems can be dedicated for measuring large parts (up to 300mm) or microscope-based. They can also use vertical scanning interferometry (VSI) mode with a white-light source to measure steep or rough surfaces, including machined metal, foam, paper and more. The interaction of light with the sample for this instruments is not fully understood. This means that measurement errors can occur especially for roughness measurement.
Focus variation: This method delivers color information, can measure on steep flanks and can measure on very rough surfaces. The disadvantage is that this method cannot measure on surfaces with a very smooth surface roughness like a silicon wafer. The main application is metal (machined parts and tools), plastic or paper samples.
Confocal microscopy: this method has the advantage of high lateral resolution because of the use of a pin hole but has the disadvantage that it cannot measure on steep flanks. Also, it quickly loses vertical resolution when looking at large areas since the vertical sensitivity depends on the microscope objective in use.
Confocal chromatic aberration: This method has the advantage of measuring certain height ranges without a vertical scan, can measure very rough surfaces with ease, and smooth surfaces down to the single nm range. The fact that these sensors have no moving parts allows for very high scan speeds and makes them very repeatable. Configurations with a high numerical aperture can measure on relatively steep flanks. Multiple sensors, with the same or different measurement ranges, can be used simultaneously, allowing differential measurement approaches (TTV) or expanding the use case of a system.
Profilometer: this method is the most common surface measurement technique. The advantages are that it is a cheap instrument and has higher lateral resolution than optical techniques, depending on the stylus tip radius chosen. New systems can do 3D measurements in addition to 2D traces and can measure form and critical dimensions as well as roughness. However, the disadvantages are that the stylus tip has to be in physical contact with the surface, which may alter the surface and/or stylus and cause contamination. Furthermore, due to the mechanical interaction, the scan speeds are significantly slower than with optical methods. Because of the stylus shank angle, stylus profilometers cannot measure up to the edge of a rising structure, causing a “shadow” or undefined area, usually much larger than what is typical for optical systems.
Resolution.
The scale of the desired measurement will help decide which type of microscope will be used. For 3D measurements, the probe is commanded to scan over a 2D area on the surface. The spacing between data points may not be the same in both directions.
In some cases, the physics of the measuring instrument may have a large effect on the data. This is especially true when measuring very smooth surfaces. For contact measurements, most obvious problem is that the stylus may scratch the measured surface. Another problem is that the stylus may be too blunt to reach the bottom of deep valleys and it may round the tips of sharp peaks. In this case the probe is a physical filter that limits the accuracy of the instrument.

